Bike M Check 101: Essential Steps for Ensuring a Safe Ride
Gavin Richardson - Aug 4 2023
As a passionate cyclist, you know that regular maintenance is crucial to keeping your bike in optimal condition and ensuring a safe and enjoyable riding experience.
One of the most fundamental maintenance routines every cyclist should be familiar with is the Bike M Check.
This thorough inspection involves examining various components of your bike to ensure they are functioning properly.
In this guide, we will take you through each step of the Bike M Check, from the rear wheel to the front wheel, providing you with valuable insights and tips along the way.
What is the M Check?
The Bike M Check is a systematic process for inspecting your bicycle's key components to identify any issues that might affect its performance, safety, or longevity. Its called an M check because... well... take a look at the image below.
Think of it as a routine health check for your bike. By conducting this check regularly, you can catch potential problems early on and address them before they escalate.

Step 1: Rear Wheel Assessment
Start your Bike M Check by focusing on the rear wheel. Spin it gently and observe its rotation.
Look for any wobbling or misalignment that could indicate a bent rim or loose spokes.
Check spoke tension, grab two spokes at a time and squeeze gently, if you feel a loose spoke this will need to be re tensioned. Spoke tension needs to be done in an even and uniform distribution. Seek professional advice if necessary.
Check the rear axle is tight. This may be a quick release axle, through axle or bolt on. Quick release shouldn't be overtightened. It should be tight enough so it isn't floppy, but slight pressure needs to be applied to close it.
Through axle just required being tightened to the torque spec specified.
If your wheel is bolt on ensure the bolts are done up tight
Step 2: Spokes Inspection
Examine the spokes for proper tension and alignment. A loose or broken spoke can compromise the wheel's stability.
Use a spoke wrench to adjust the tension as needed, ensuring an even and uniform distribution.
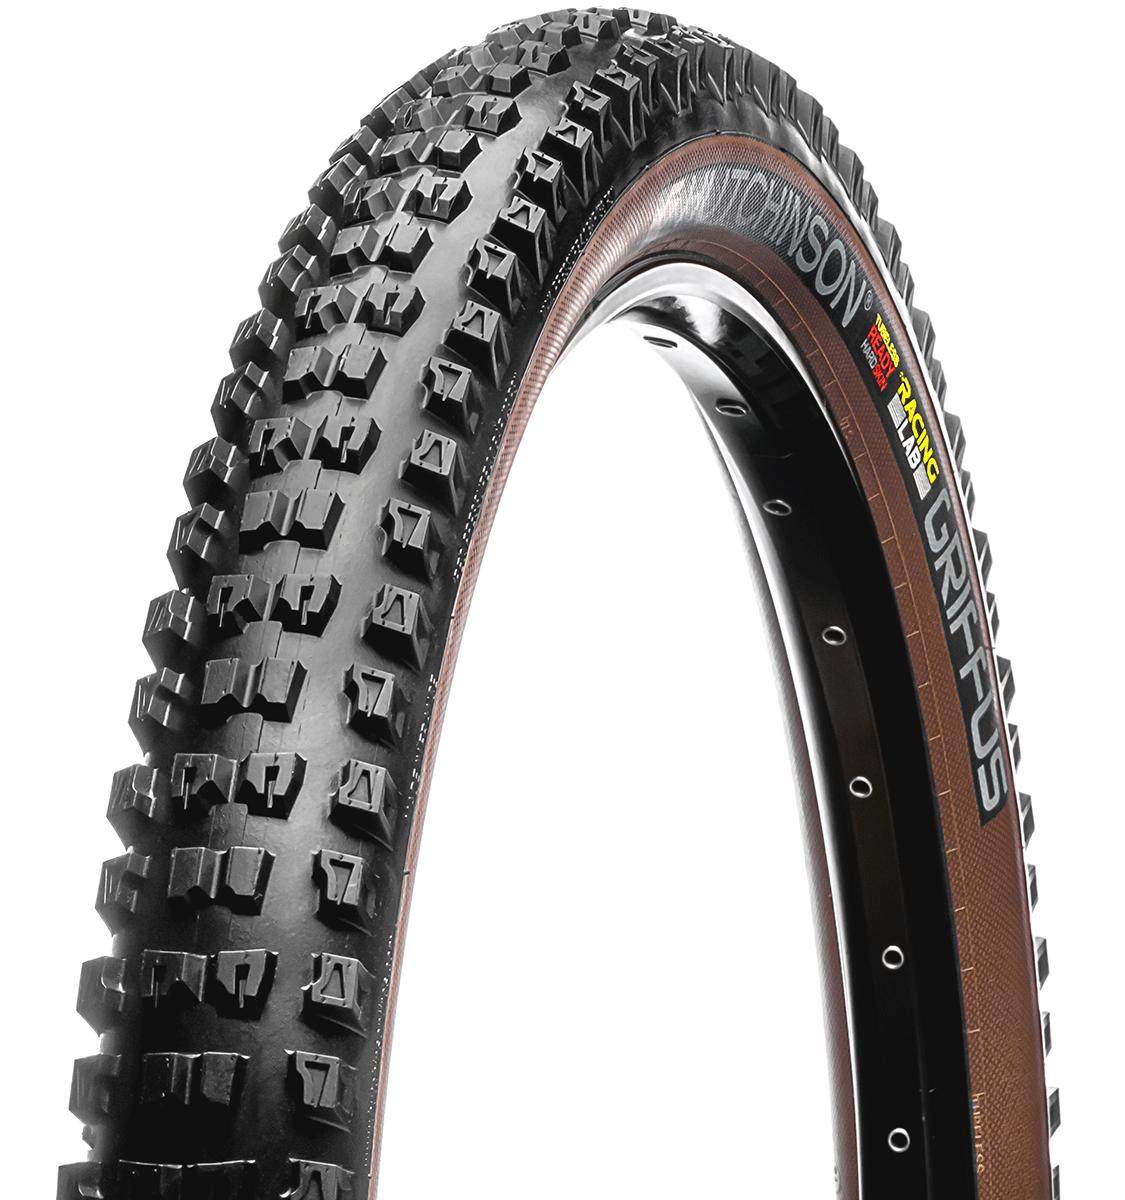
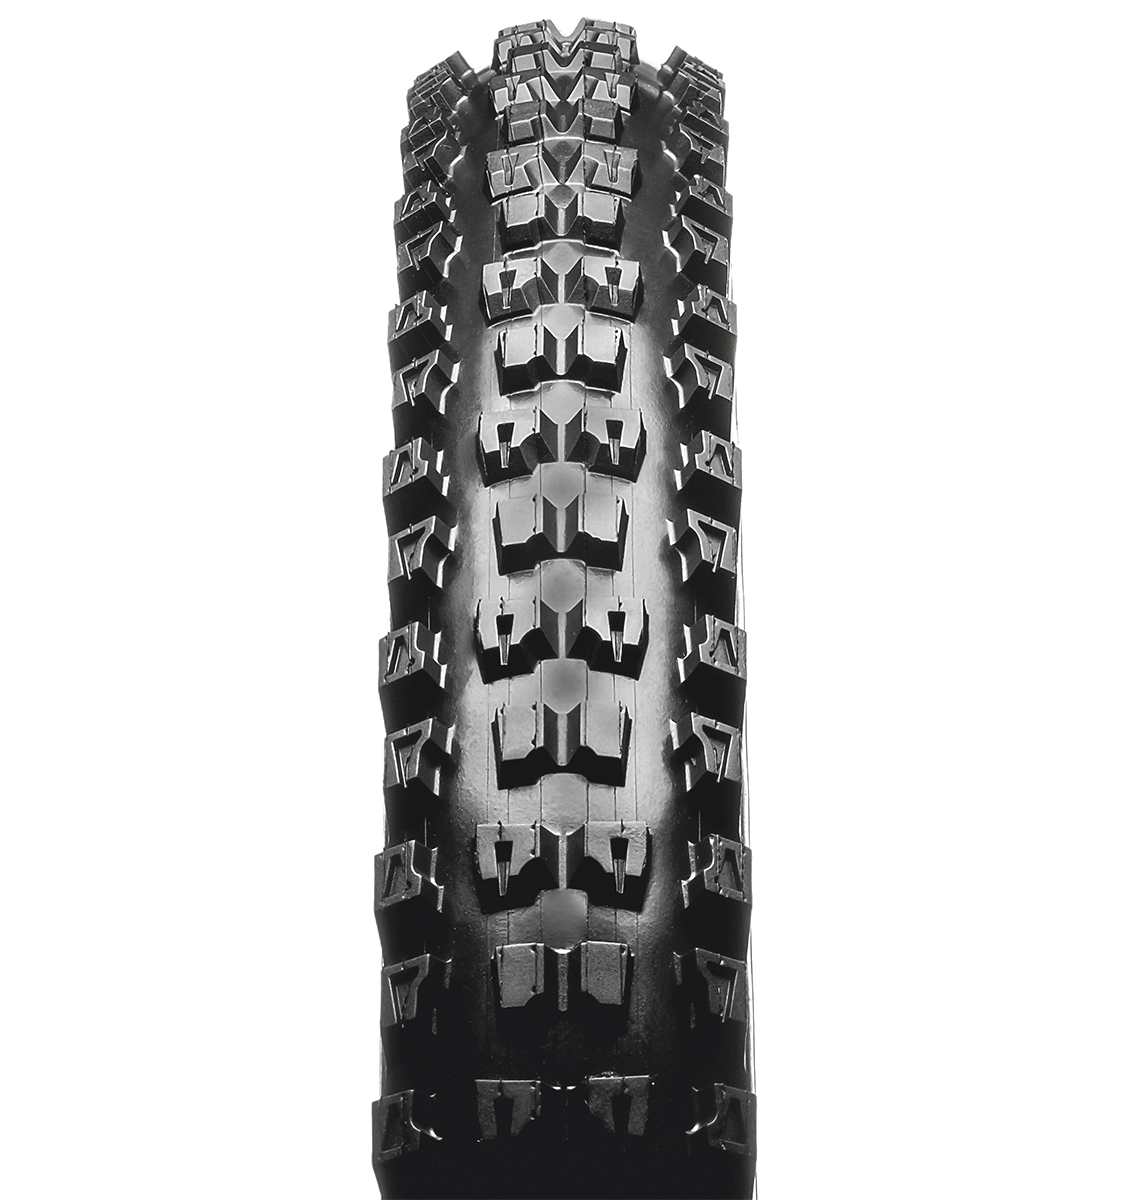
Step 3: Tyre Examination
Your tyres are the only points of contact between your bike and the road, making them crucial for safety and performance.
Check for any cuts, bulges, or excessive wear on the tire surface. Ensure proper tire pressure according to manufacturer recommendations. TIP: These are normally written on the sidewall of the tyre
If you run tubeless tyres, it is necessary to check if the sealant has dried up. let air out the tyre, pop it of the bead and check for fluid. if it has dried up, top it up at this point.

Step 4: Saddle Condition
The saddle plays a significant role in your comfort during rides.
Check its alignment and stability. Make sure it's securely attached to the seat post and adjust the height if necessary for optimal leg extension.
Check that the minimum insertion marker on the seatpost is not visible.
If you have a dropper post, check it is functioning correctly.
Step 5: Chain Maintenance
A well-lubricated chain is essential for smooth pedaling and gear shifting. Check the chain for rust, dirt, or excessive wear. Clean it with a degreaser and lubricate it with a bike-specific chain lubricant.
Make sure to remove excess lube. This will attract more dirt, causing wear and tear to the drivetrain. Have a read of our cleaning your drivetrain guide for handy tips on this.
Step 6: Pedal Evaluation
Inspect the pedals for any play or wobbling. Tighten them securely to the crank arms.
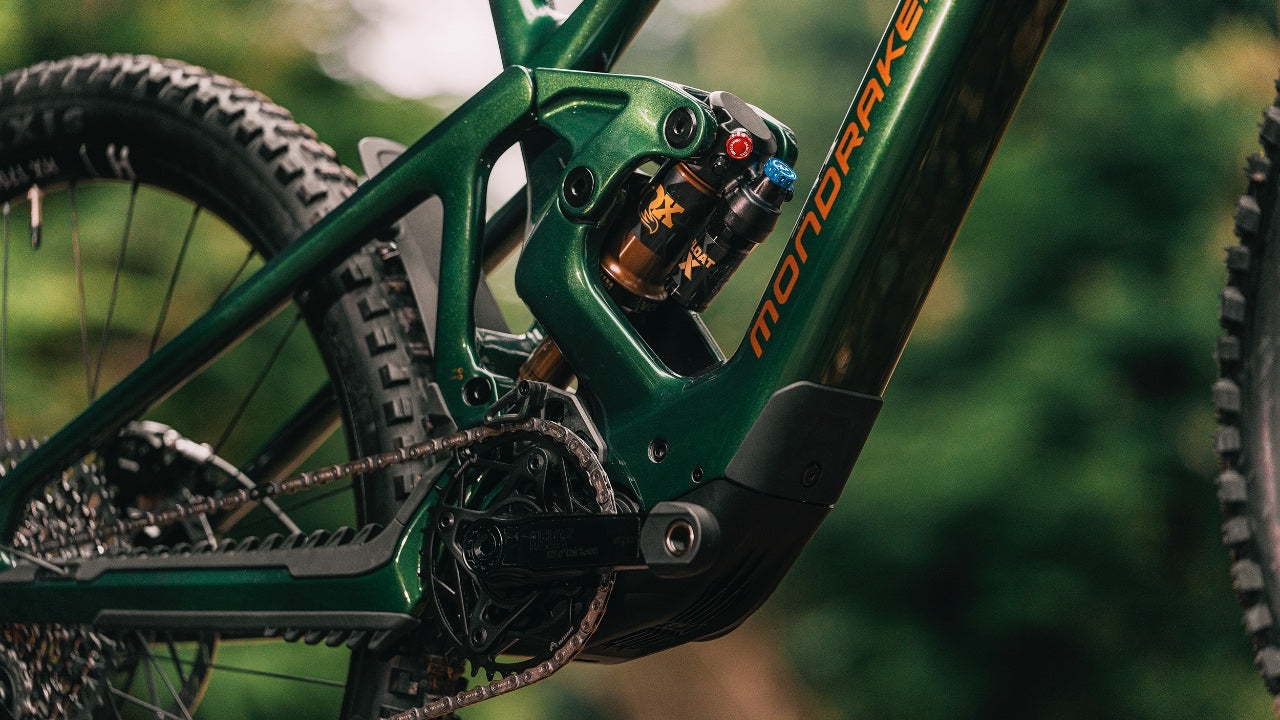
Step 7: Rear shock
If you have a rear shock, check it is functioning correctly.
Check for any fluid leaks and damage to the stanchion or air can.
Ensure the shock bolts are tightened to the correct torque as specified by your frame manufacturor.
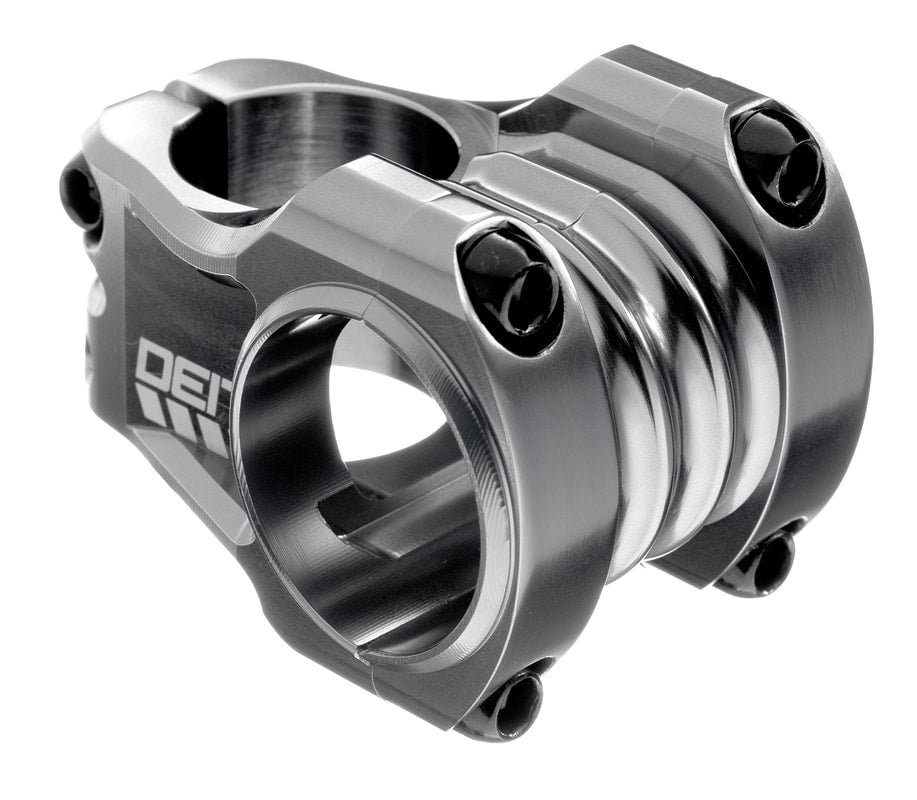
Step 8: Stem and Headset Inspection
The stem and headset connect the handlebars to the fork and frame. Check for any play or looseness in this area by applying the front brake and rocking the bike back and forth.
If there is play this could mean your headset bearings need replacing. but it could also be the preload on the stem.
loosen the stem bolts, gently tighten the top cap bolt. re align the handlebars and tighten the stem bolts again. If this doesnt resolve the play take it to your local bike shop for diagnosis.


Step 9: Handlebars Examination
Your handlebars should be aligned properly with the front wheel.
Check for any cracks, dents, or excessive wear. Ensure that the grips are secure, if you have bar ends, make sure these are installed.
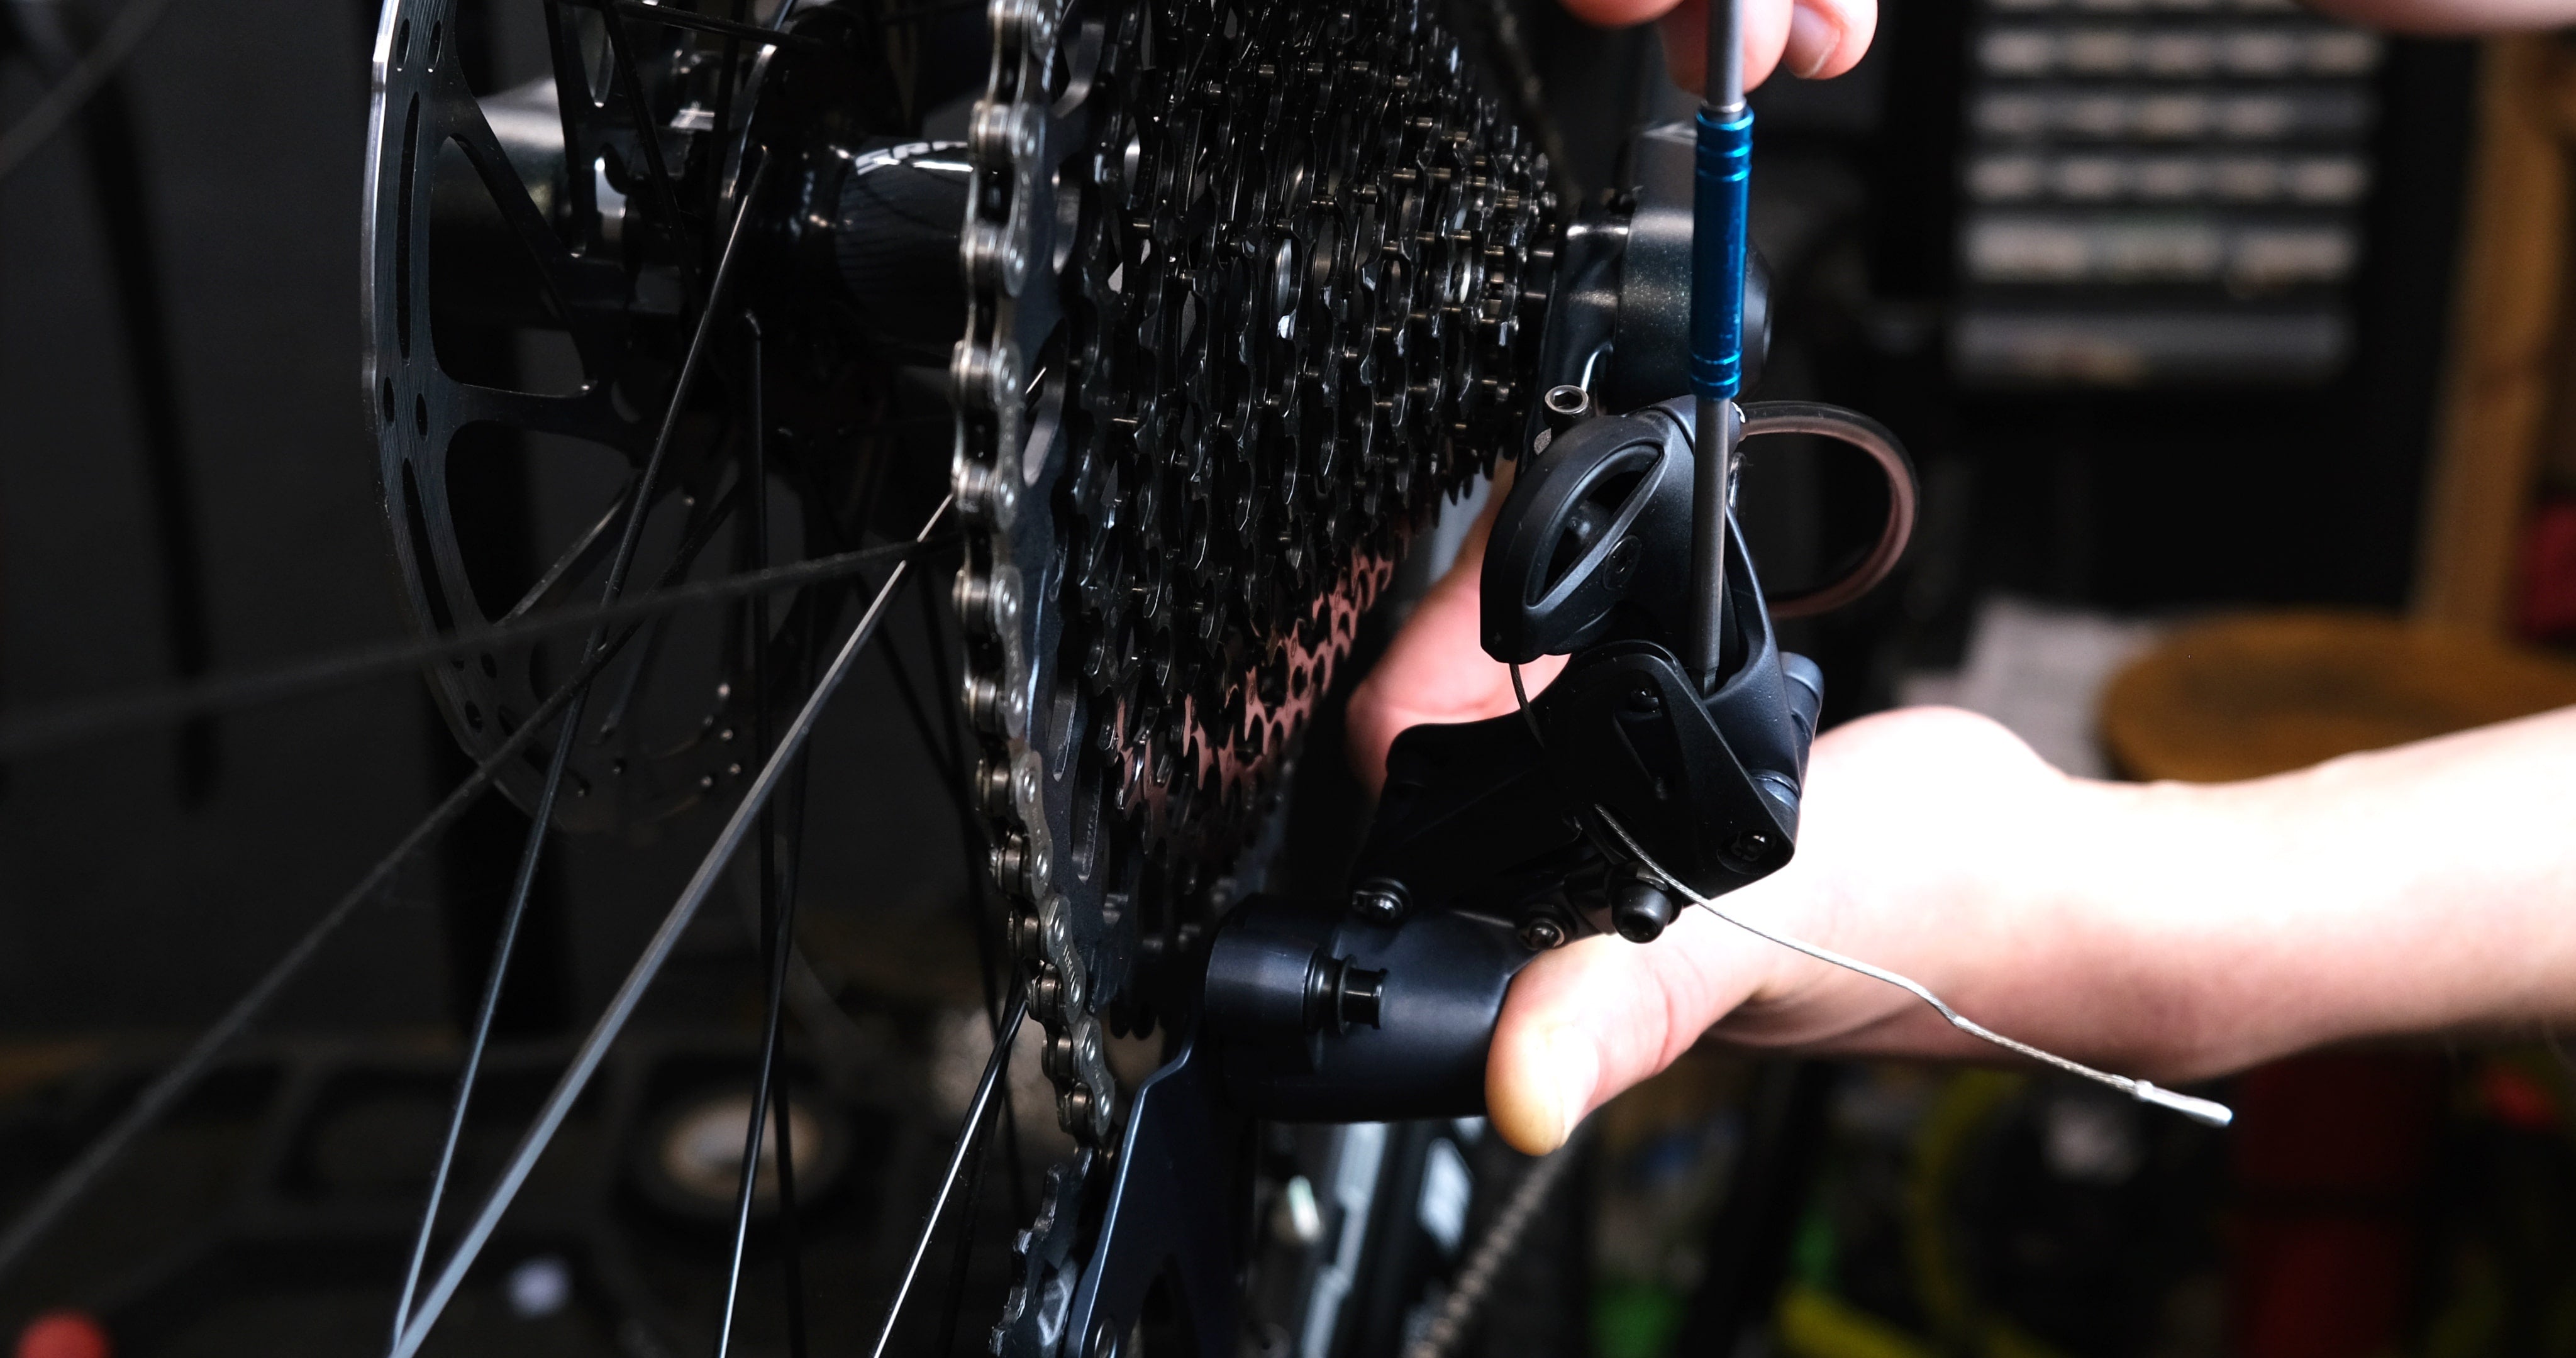
Step 10: Brakes Assessment
Brakes are crucial for your safety.
Check the brake pads for wear, and inspect the brake cables for fraying or rust(if you have cable brakes).
If you have disk brakes check the surface of the disks for wear. Check your rotor bolts are torqued to the correct spec.
If you have rim brakes check your rim for wear, it will usually have a wear marker on it. Check with you rim manufacturer for where this can be found.
Test the brakes to ensure they engage smoothly and effectively.
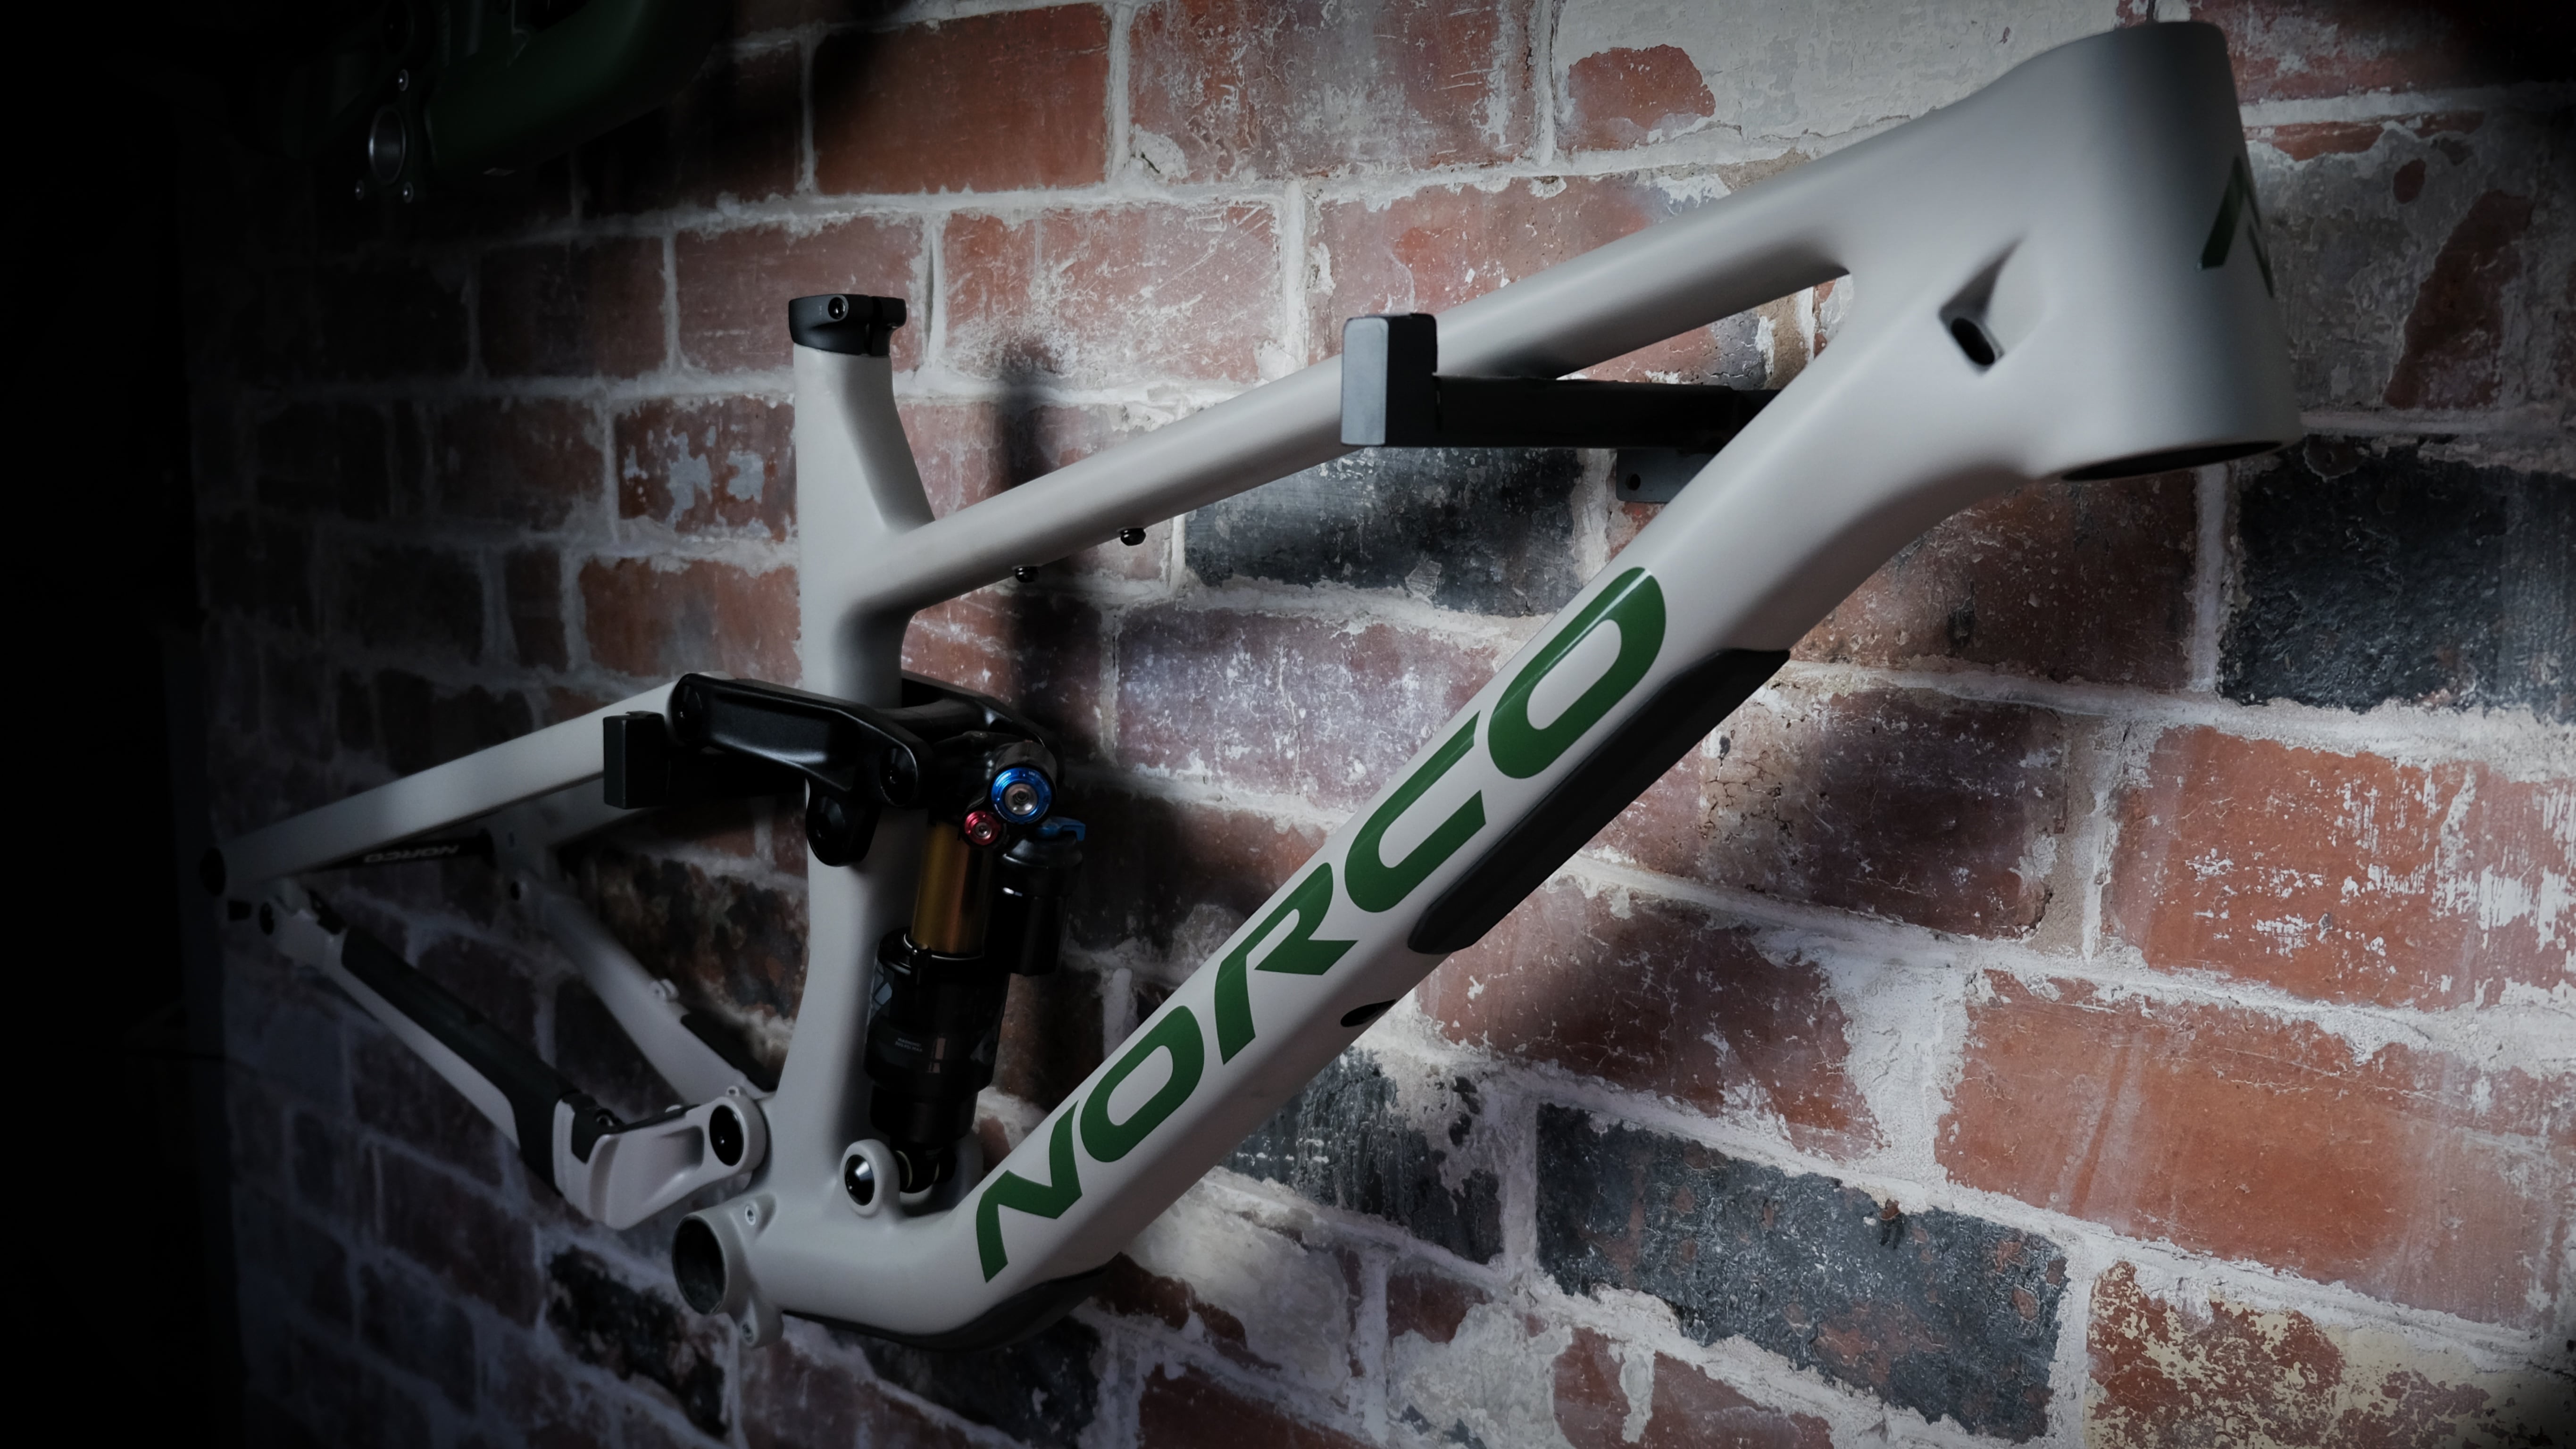
Step 11: Frame Analysis
Inspect the frame for any cracks, dents, or signs of damage.
Pay attention to welds and stress points.
If your bike is carbon, check for hairline cracks. If you find any cracks on your frame (Aluminium,steel or carbon) take it to be inspected as soon as possible.
If you have a full suspension bike, check all linkage bolts are tightened to the correct spec. These can work loose given the amount of vibration a mountain bike is subject to.
A sturdy frame is essential for overall bike integrity.
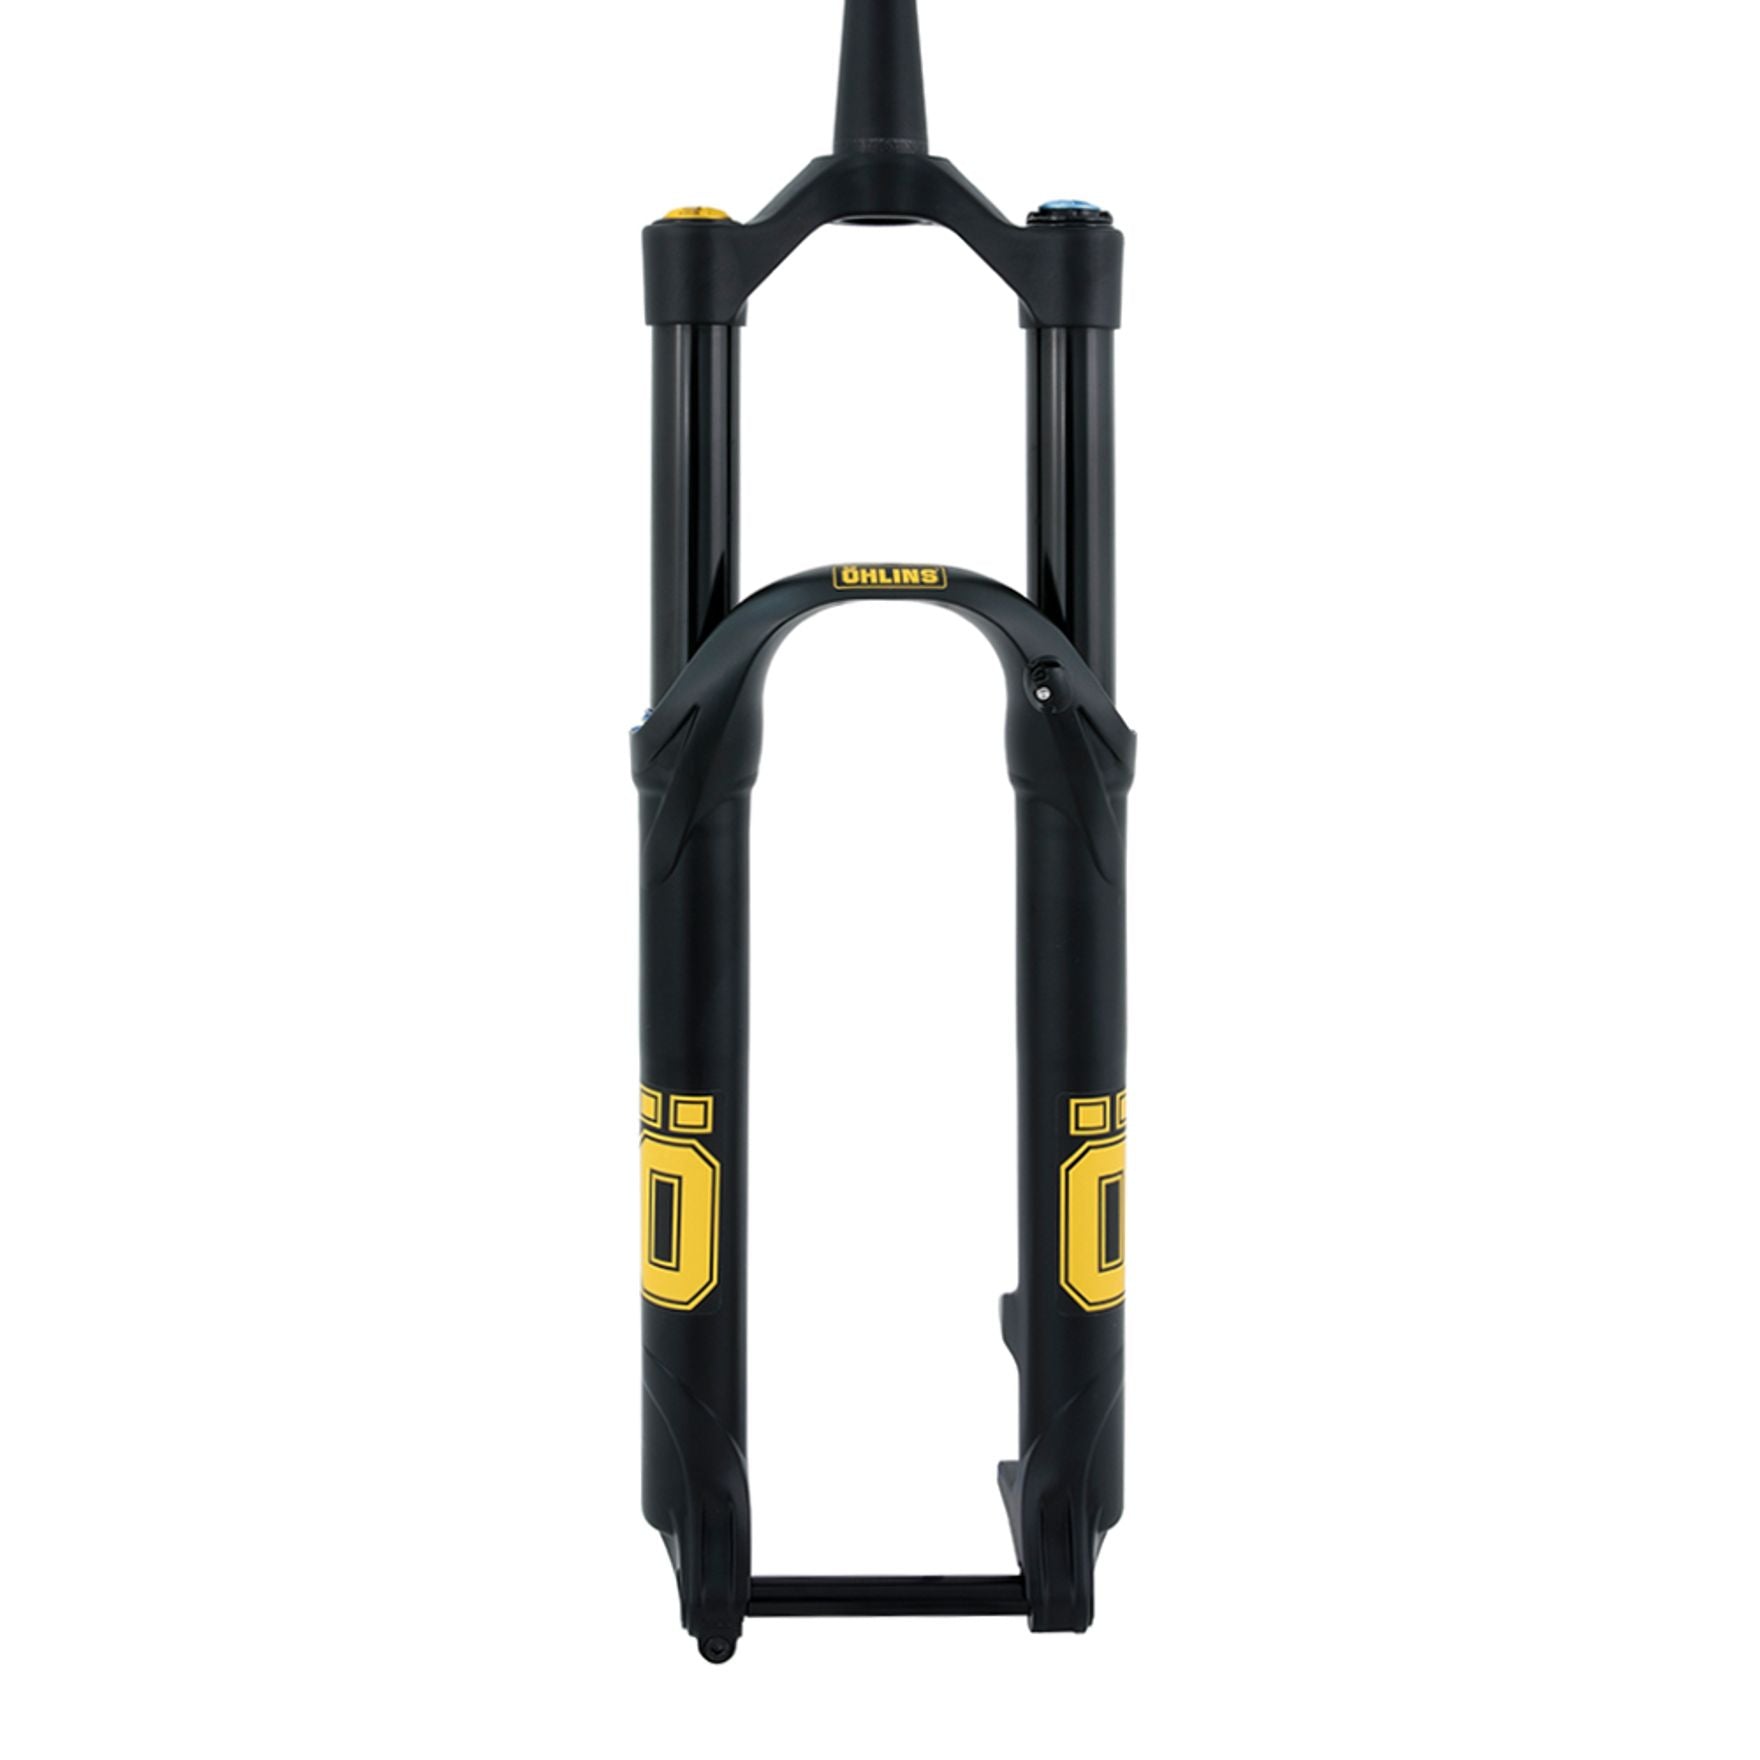
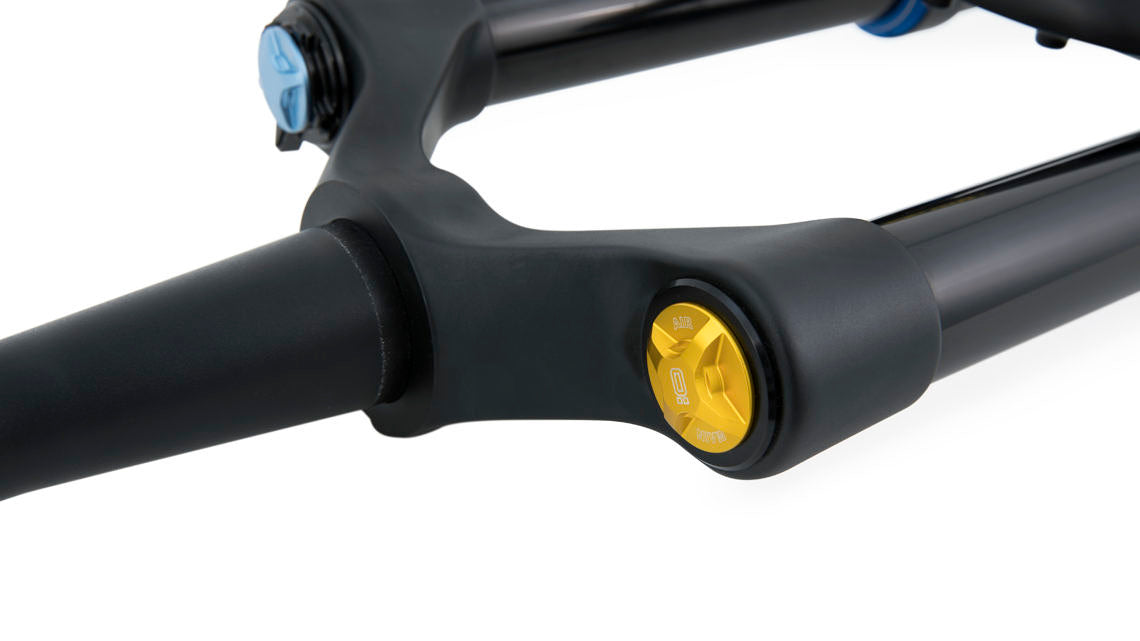
Step 12: Forks
If you have rigid forks, check for any cracks or damage.
If you have suspension check it is functioning properly. Look for any signs of damage.


Step 13: Front Wheel Review
Finish your Bike M Check by focusing on the front wheel.
Repeat the same steps as you did for the rear wheel, checking for wobbling, misalignment, proper spoke tension and axle fittment.
Performing a regular Bike M Check is a vital habit for every cyclist.
By systematically inspecting and maintaining your bike's key components, you ensure its safety, longevity, and optimal performance.
Remember that prevention is always better than cure, and a well-maintained bike will reward you with countless smooth and enjoyable rides.
So, gear up, follow this comprehensive guide, and embark on your cycling adventures with confidence!
MEET THE AUTHOR
GAVIN RICHARDSON
Some say Gavin invented the wheel. They are lying of course, but he does build a mean set.
Chief of Cykel House, aging rider and father of 3. Gavin has been riding the majority of his life in multiple different forms. He created Cykel House out of passion and enthusiasm for the sport which cannot be matched.
Always on the hunt for the best products and latest trends his finger is right on the pulse.
Interesting fact - Gavin won a handwriting competition at age 7. What a legend.
Likes - A well built berm, beer and raw sprouts
Dislikes - Stainburn woods, headset cable routing and lycra

Comments