How to Set Up MTB Suspension: A Beginner's Guide to Mastering Suspension Setup
A Simple Guide To Suspension Setup
Suspension can make or break how confident you feel on a bike and how fast you can ride.
But...Suspension is a dark art, best left to the professionals right?
Believe it or not you can't destroy it by playing with the dials. But what does what? Thats the part people sometimes struggle with. If thats you then this guide will be right up your street.
This guide is not meant to be a comprehensive guide, but a quick reference guide to help you setup your suspension whilst out riding. So grab your bike and get to the trails, open this page and dial it in like a boss!
What We'll Cover;
- - Setting Sag
- - Setting Rebound
- - Setting Compression
- - Volume Spacers/Tokens
Basic Setup
Intermediate Setup
Quick Reference Guide
Open this up at the side of the trail to dial your suspension in.
Top Tip - You can always bookmark the page on your phone, open it up on the trail side for guidance.
Basic Setup
Setting Sag
Setting up your sag is one of the most important aspects of suspension set up and also the easiest to do. Sag is the percentage of suspension used when the rider is in the normal riding position. Sag is important, as the fork has to extend into holes in the ground, just as much as they need to compress over bumps.
Most forks will have a pressure guide on them to aid in setting up sag. If your fork doesn't, a good guide is your weight in Kg to PSI. So a good start for a 80kg rider would be 80psi in the fork. Air is significantly higher for a shock so best to start low and add air to achieve the correct sag

Assume the normal riding position on your bike and check where the sag ring is on the stanchion, If your fork doesn't have a sag ring you will need to measure your fork length and work out 20% of its length. Put a tie wrap around your stanchion, get your sag correct and then cut the tie wrap off, making sure you don't scratch the stanchion in the process.
You want to be aiming for around 15-25% sag, most manufacturers suggest starting with 20% for forks and 30% for you shock. 15% provides a stiffer set up while 25% provides a softer/plush feel. A heavy, hard hitting rider may benefit from 15% while a smoother flowing rider may prefer 25%. A fast rider also benefits from a slightly stiffer set up.
To decrease sag add more air, to increase sag release air from the chamber.
As simple as that you now have your base foundation!
Oh.. Where do you put your air? On the left hand side of the fork crown is where this is usually found. Unthread the top cap and increase/decrease air with a shock pump.

You can usually locate your air valve under the cap on the left had side of your fork

Use a shock pump to inflate/deflate the fork/shock
Intermediate Setup - Rebound
Rebound controls how fast the fork returns after being compressed. This adjustment is also dependant on air setting in your forks, the more air in the forks the more rebound damping needed (Clockwise adds more damping which slows the rebound) generally the lighter the rider the lower the amount of rebound needed.
Low speed rebound is what is used the majority of the time and as such is why most forks only come with low speed rebound.
High speed rebound only comes on high end Fox forks and is only really used when the fork passes through the majority of its travel. It isn't relative to how fast the fork gets compressed but how fast it needs to extend, so when the fork is compressed the majority of its travel it will try to rebound back to its original position faster. This meaning oil is diverted through the high speed rebound circuit.

Rebound adjustment is usually found on the bottom of the fork on the right hand side. Its usually highlighted with red.
Low Speed Rebound Adjustment
Low speed rebound effects how your suspension reacts (extends) to smaller bumps. Generally the first 2/3rd's of the shock stroke is controlled by the low speed valving.
When you decrease rebound, you allow the shock to extend faster. It feels softer, more supple, and livelier.
When you increase rebound damping, you make the shock extend slower. It feels stiffer, more supportive, and more planted.

- > If the bike feels loose, nervous over bumpy sections or kicky over jumps, close the rebound adjust 1 click (clockwise)
- > If the bike feels harsh, uncomfortable and packs down (cant rebound quick enough to re extend after successive hits) open the rebound adjust 1 click (counter clockwise)
High Speed Rebound Adjustment
High speed rebound adjustment is usually only found on high end FOX suspension, Fox recommend running this at one click less than your low speed rebound. So if you were running 6 clicks of low speed you would run 5 clicks of high speed.
High speed rebound is a difficult one to test as it is only used in the limits of its travel so you would need to almost bottom out the forks to feel how this works. but when you do get to a point of bottom out and it feels like its returning too fast add one click clockwise to slow it down and try again. If you feel it isn't returning in time for the next feature then add one click anti-clockwise.
Intermediate Setup - Compression
Your forks may have high speed compression, low speed compression or just one compression dial which will control only the low speed compression usually the higher quality the fork the more adjustability you will have. The compression dial is usually found on the crown of the fork on the right hand side. Compression controls the energy absorption and so controls how easy it is for your fork to compress when you hit bumps.

Your forks compression dial is usually highlighted with blue and located on the right hand side of your fork.
To adjust the compression turn the dials all the way clockwise to the fully closed position (The firmest amount of compression). Then count the clicks anti clockwise to the desired position. If you want to work out the best set up for your riding and style, go to a trail you ride regularly, set all settings in the middle and ride the trail. take note of how the suspension feels and adjust as per below
Low Speed Compression
The low speed compression is used to control performance during rider weight shifts, G-outs and other slow movements to the forks.(low speed compression is what the fork will be using the majority of the time, unless your a redbull hardline rider!)

The amount of clicks your fork/shock has depends on the fork/shock type
- > If you feel the fork feels spongy, soft or unstable for example when going into corners. Close the low speed compression 1 click (clockwise)
- > If you feel the bike feels hard and has poor traction, open the low speed compression 1 click (anti clockwise)
High Speed Compression
The high speed compression damping is good for controlling fork performance during big hits, heavy landings and square edged bumps.
- > If the bike feels soft, low or is bottoming out increase high speed compression damping 1 click (clockwise)
- > If the bike feels harsh or hard, decrease the high speed compression damping 1 click (anticlockwise)
Intermediate Setup - Volume Spacers
Most Forks and Shocks can utilise the addition of volume spacers (sometimes known as tokens) to change the way the fork ramps up in the Mid/final part of its stroke.
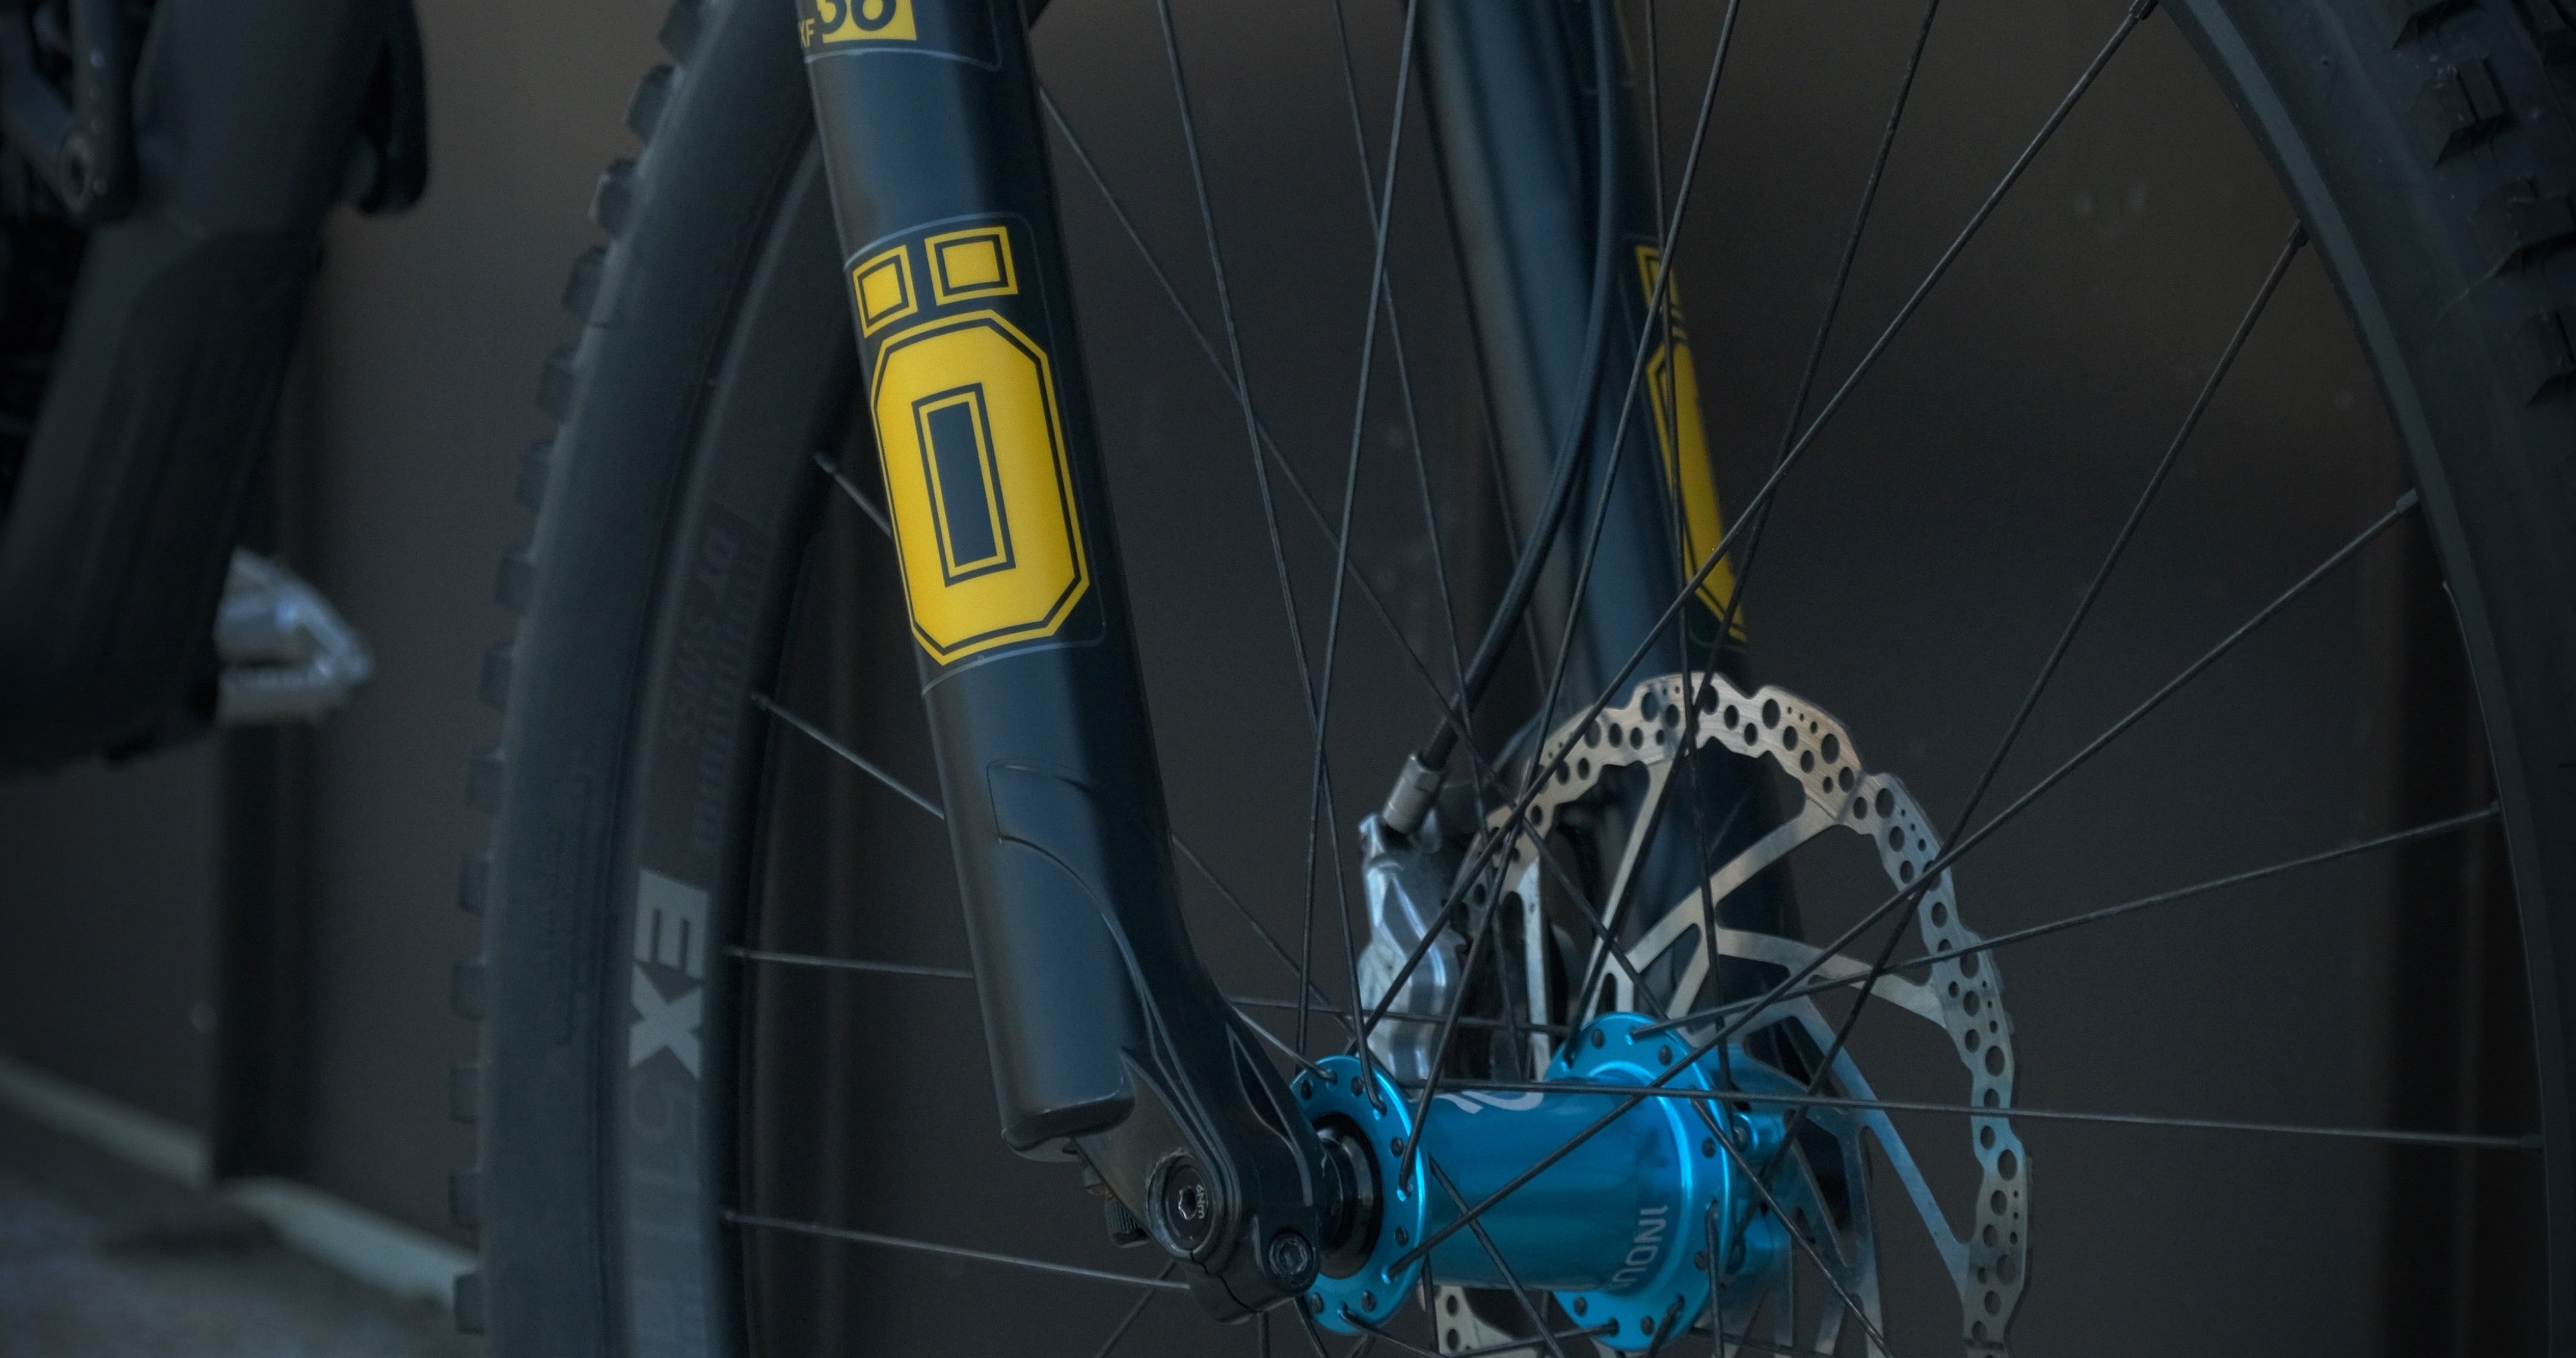
With the exception of Ohlins forks which actually have a 3rd air chamber to control ramp up, which is far more accurate but also more work to set up.
So here's how it works; volume spacers are added into the air chamber in the fork, which is where you put air to set sag. The air spring inside your fork has less air space meaning the pressure inside the fork ramps up quicker, making it firmer at the top/mid stroke.
Why would you want this?
This can be great for adding more support into your mid/end stroke without loosing small bump sensitivity. Instead of adding low speed compression to firm up your mid stroke, which in turn will firm up the beginning of the stroke. You can add a volume spacer.

Volume spacers are found under the air valve on your fork. You need to read manufacturers specifications for the max amount of spacers recommended
Final Word
Suspension set up is very personal to yourself, the terrain you ride, how you like the bike to feel etc.
I cant stress enough; get out on your bike and ride it, play with the adjusters as stated above and find what feels best for you. You wont destroy your suspension in doing this. just remember the adjustments you made to your suspension, you can always put it back to where it was.
I have mainly discussed Front suspension in this blog, but the same principles apply to the rear in terms of how each particular setting works
MEET THE AUTHOR
GAVIN RICHARDSON
Some say Gavin invented the wheel. They are lying of course, but he does build a mean set.
Chief of Cykel House, aging rider and father of 3. Gavin has been riding the majority of his life in multiple different forms. He created Cykel House out of passion and enthusiasm for the sport which cannot be matched.
Always on the hunt for the best products and latest trends his finger is right on the pulse.
Interesting fact - Gavin won a handwriting competition at age 7. What a legend.
Likes - A well built berm, beer and raw sprouts
Dislikes - Stainburn woods, headset cable routing and lycra