MTB Fork Service Made Easy: DIY Lower Leg Maintenance Guide
Gavin Richardson - August 26th 2024
Suspension is the unsung hero of a smooth and ultimately faster ride, and at the heart of the fork lies the lower leg, a crucial component that demands attention and care.
We have seen it all too much, people neglect the lower leg service as they don't see the need. But once the stanchions are scratched/worn through, there is no going back. This type of service is best used as a preventative measure, dont wait till its too late!
In this comprehensive guide, we will delve into the world of lower leg servicing, exploring the tools and equipment required, understanding the process, and learning how to perform this essential maintenance task to keep your ride in top-notch condition.
Tools and Equipment Required
Before we start the journey of servicing the lower legs of your suspension fork, let's take a moment to familiarize ourselves with the tools and equipment needed for the job.
Gathering the right tools ensures an efficient hassle free process, preventing any hiccups along the way.
Fork/Shock Pump:
- A suspension pump is essential for releasing and adjusting air pressure in the fork. This tool allows precise control over your suspension, tailoring it to your riding style and preferences.
This isnt your normal pump its a specific high pressure pump designed for suspension only.
Socket and Wrench Set:
- Different suspension forks may require different socket sizes for disassembly. Occasionally they may use Allen Keys.
A comprehensive socket and wrench set (or allen keys dependant on your fork) ensures you have the right tools for the job.
Fork Seal Driver:
- A fork seal driver is crucial for proper installation of new seals. It ensures even pressure distribution, preventing damage to the seals during reassembly.
Cleaning Solvent:
- To maintain the longevity of your suspension system, it's essential to clean the lower legs thoroughly. A quality cleaning solvent helps remove dirt, grime, and old lubricants. We use a high grade isopropal alcohol, dont use anything that may contaminate your fresh oil.
Seal and Bushing Grease:
- Specially formulated grease for seals and bushings is vital for smooth operation and longevity. It provides adequate lubrication to the components, reducing friction and wear. We use Slick Honey in the workshop.
Now that we've gathered the necessary tools, let's explore the intricacies of what a fork lower leg service entails.

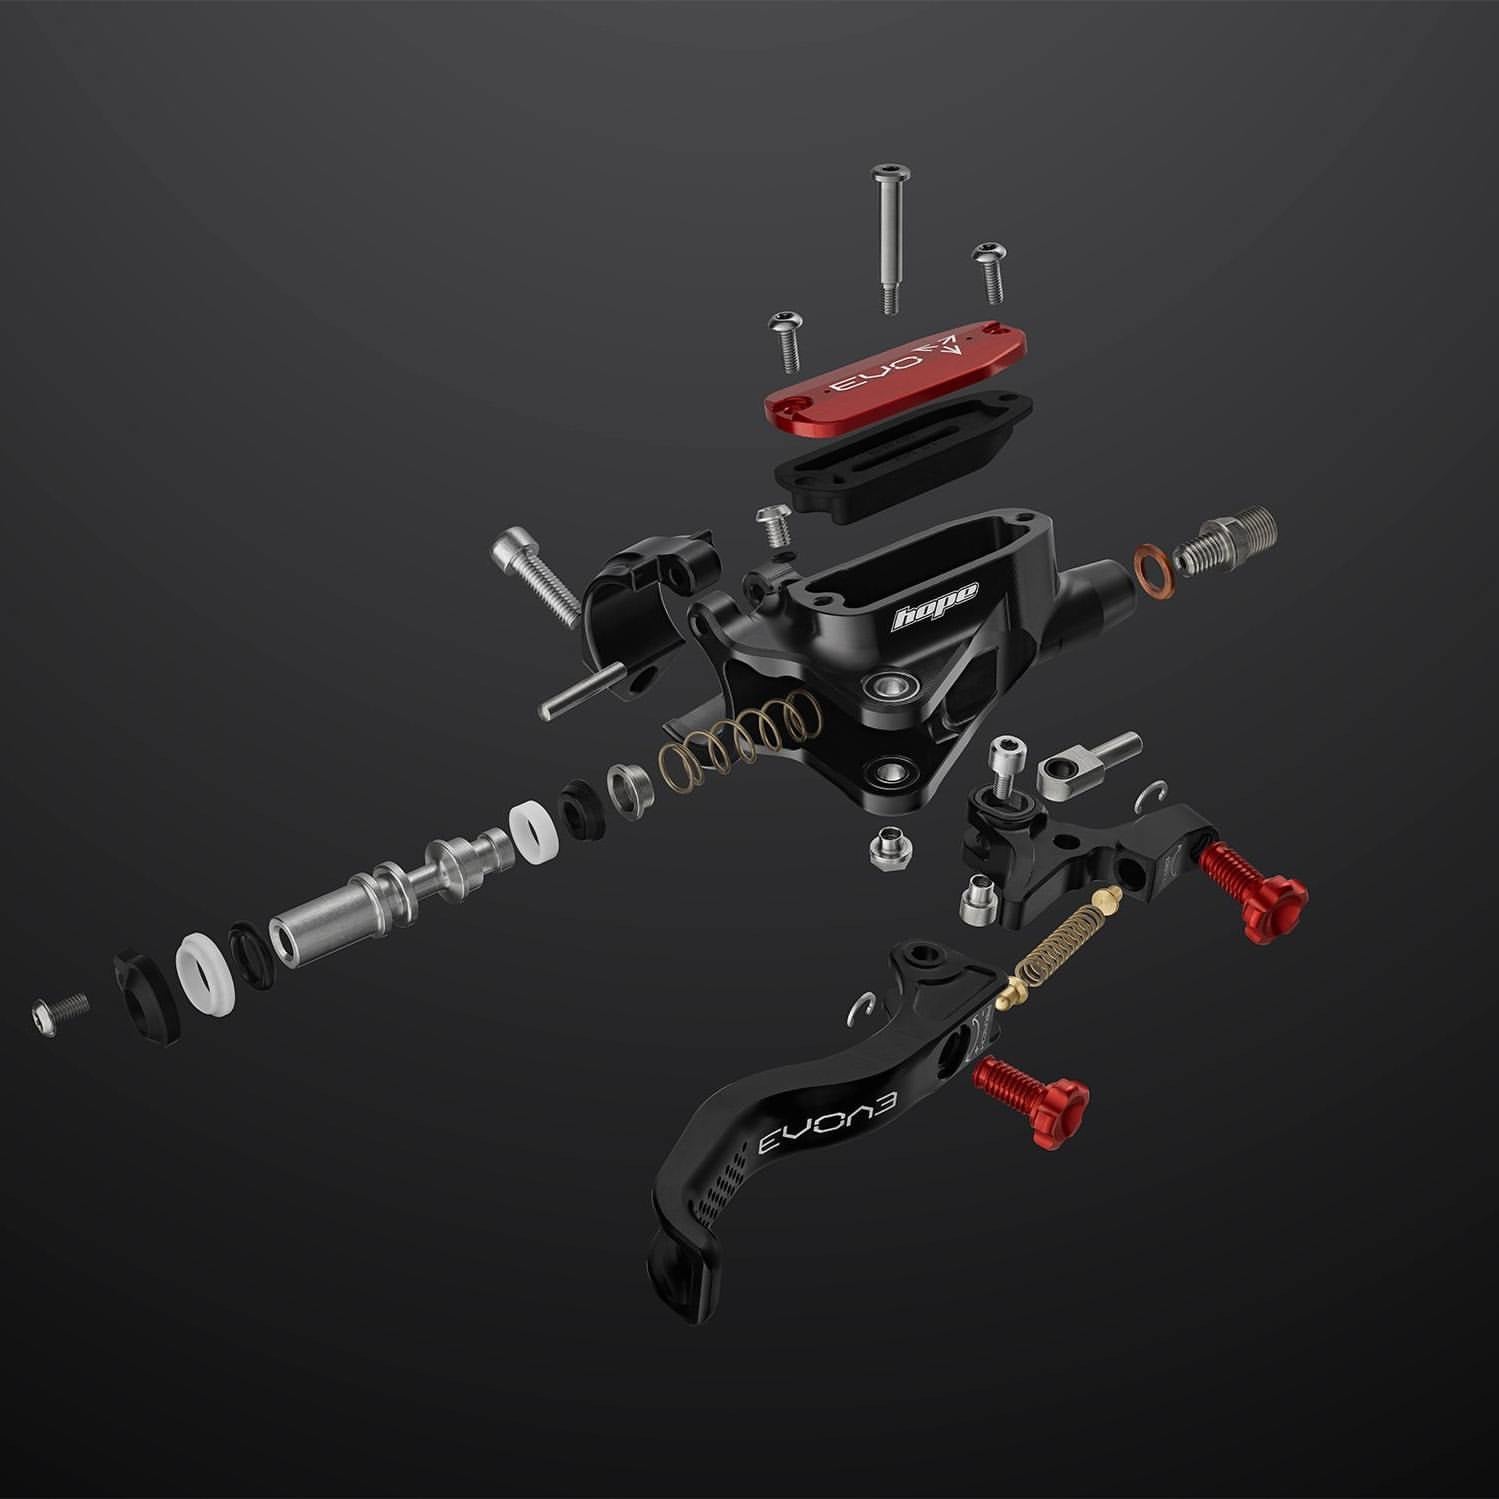
Some of the equpment you may need to complete a lower leg service
What is a Lower Leg Service?
The lower leg of a suspension fork plays a crucial role in maintaining a smooth feeling fork. Over time, dust, dirt, and moisture can infiltrate this area, leading to decreased performance and potential damage.
The lower leg is the part the stachions go into - inside they have bushings, rubber wiper seals and foam rings. (the latter two being the parts that try to ensure dirt doesn't get inside)
A fork lower leg service involves disassembling, cleaning, and reassembling the lower legs to ensure optimal functionality.
Performing the Lower Leg Service
1. Remove the Fork and Clean It
Begin by removing the front wheel and disconnecting the brake caliper. Loosen the bolts securing the fork to the frame (Stem bolts and top cap bolt), and carefully slide the fork out.
This step allows for easier access to the lower legs and ensures a thorough cleaning process.

2. Let Out All Air Pressure
Using the suspension pump, release all air pressure from the fork. This step is crucial as it prevents any accidental discharge of pressure during disassembly, ensuring a safer and more controlled process.
3. Remove the Lowers
With the fork now free from the frame, it's time to disassemble the lower legs. Use the appropriate socket/allen key to loosen and remove the bolts securing the lowers to the upper tubes.
Once removed you may need to gently tap the bolts in with a rubber mallet, so not to cause damge to the bolts.
Carefully slide the lowers down, exposing the internals of the fork.


4. Clean the Lower Legs
Once the lowers are removed, it's time to thoroughly clean the lower legs.
Using a cleaning solvent and some lint free cloth, remove any accumulated dirt, grime, and old lubricants. Pay special attention to the seal and bushing areas, ensuring they are free from debris.

5. Replace the Seals
Inspect the fork seals for any signs of damage or wear. If they show signs of deterioration, it's time to replace them.
Use a downhill tyre lever and a cloth (so it doesn't cause any damage to your paint) put the downhill lever under the seal and pop the old ones out.
Pop your foam rings into some of your fork specific oil (Generally the same as in your lower legs) and let them soak.
Use the fork seal driver to carefully install the new seals, ensuring they are seated properly.
Applying a small amount of seal and bushing grease during this process helps with reassembly.
Put your foam seals back in.


6. Reassemble Everything
With the new seals in place, it's time to reassemble the lower legs. Carefully slide the lowers back onto the upper tubes.
Now you will need to fill the lower legs with the correct amount and weight of fork oil.
The manufacturers website is the best place to get these from. For Fox visit RideFox and for Rockshox visit Trailhead for any other brand you would need to visit their tech pages.
Tip the forks up and use a syringe to insert the fresh oil in through the bolt holes at the bottom.
Securing the lowers with the appropriate bolts and crush washer (if required)
Tighten the bolts to the manufacturer's specifications to ensure a secure fit. Reconnect the fork to the frame, (check our guide on how to tighten your headset) reinstall the front wheel, and reconnect the brake caliper.

How Often Should you do a Lower Leg Service
While the importance of a fork lower leg service is clear, the frequency at which you should perform this maintenance task depends on several factors, including your riding style, terrain, and environmental conditions.
As a general guideline, consider the following factors when determining the optimal interval for lower leg servicing:
1. Riding Frequency:
If you're an avid rider who frequently hits the trails, your suspension undergoes more stress and wear. In such cases, consider performing a lower leg service at least once every 30 to 50 hours of riding.
This ensures that your suspension remains responsive and efficient.
2. Terrain Conditions:
Like to ride in all weather? or hike a bike through streams and rivers? Thats going to accelerates the accumulation of dirt and debris makng its way into the lower legs.
If you frequently ride in these conditions, you may need to service your lower legs more often.
Inspect the lowers regularly, and if you notice a buildup of grime, consider performing maintenance sooner rather than later.
3. Manufacturer's Recommendations:
Always consult your bike's manufacturer guidelines for specific recommendations regarding suspension maintenance.
Manufacturers often provide insights into the ideal service intervals and procedures based on the design and materials used in their suspension systems.

This is what you dont want to happen!
4. Signs of Wear or Performance Issues:
Pay attention to your bike's performance. If you notice decreased suspension travel, increased friction, or unusual noises during rides, it might be an indication that a lower leg service or more is overdue. Addressing these issues promptly can prevent further damage to the suspension components.
In conclusion, there isn't a one-size-fits-all answer to how often you should perform a lower leg service. Instead, tailor your maintenance schedule to the specific needs of your bike, and remember that a proactive approach to suspension care will keep your riding with a smile on your face for miles to come.
What is the Cost of a Lower Leg Service
Understanding the financial aspect of maintaining your bike is just as crucial as knowing the technical details of a lower leg service.
The cost of a lower leg service can vary depending on several factors, including the type of suspension system, the complexity of the fork, and whether you choose to do the service yourself or rely on professional assistance.
1. DIY Cost:
If you opt for a do-it-yourself approach, the primary costs will include the purchase of necessary tools, cleaning solvents, replacement seals, and lubricants.
The initial investment in tools may range from £50 to £100, with additional costs for cleaning solvents, grease, and replacement seals.
Keep in mind that the upfront expense for tools is a one-time investment and can be used for future maintenance.
2. Professional Service Cost:
Seeking the services of a professional bike mechanic adds a labor cost to the equation.
Professional fees for a lower leg service can range from £50 to £100 or more, depending on the complexity of the fork and the service provider.
It's essential to inquire about the specific services included in the cost, such as cleaning, seal replacement, and overall inspection.
We currently charge £60 for a lower leg service including seals. Contact us if you require our help.
3. Additional Costs:
In some cases, additional components may need replacement during the service, such as worn-out bushings or damaged parts.
These replacement parts can add to the overall cost of the service. It's recommended to anticipate potential additional costs based on the condition/age of your fork.
4. Shop Around for Quotes:
Prices for bike maintenance services can vary among different bike shops and service providers. Consider obtaining quotes from multiple sources to ensure you're getting a fair price.
Additionally, inquire about any warranties or guarantees offered on the service to provide peace of mind.
In conclusion, the cost of a lower leg service is influenced by various factors, and the decision to DIY or seek professional help depends on your skill level, available time, and budget.
Whether you choose to invest in tools for a DIY approach or enlist the expertise of a bike mechanic, viewing the cost as a long-term investment in the health of your bike is a valuable perspective.
A well-maintained suspension system contributes not only to a smoother/faster ride but also to the overall durability and performance of your beloved two-wheeled trail smashing machine.
Conclusion
Performing a fork lower leg service might seem like a daunting task, but with the right tools and a step-by-step approach, it becomes a manageable and rewarding process.
Regular maintenance of your suspension system prolongs the life of your bike components.
By understanding the importance of each step, from releasing air pressure to replacing seals, you empower yourself to take control of your bike's performance and your wallet.
So, gear up, gather your tools, and embark on the journey of mastering suspension through the art of lower leg servicing.
Your bike will thank you!
MEET THE AUTHOR
GAVIN RICHARDSON
Some say Gavin invented the wheel. They are lying of course, but he does build a mean set.
Chief of Cykel House, aging rider and father of 3. Gavin has been riding the majority of his life in multiple different forms. He created Cykel House out of passion and enthusiasm for the sport which cannot be matched.
Always on the hunt for the best products and latest trends his finger is right on the pulse.
Interesting fact - Gavin won a handwriting competition at age 7. What a legend.
Likes - A well built berm, beer and raw sprouts
Dislikes - Stainburn woods, headset cable routing and lycra


Comments