Trail Tested Tips: A DIY Guide to Basic MTB Shock Servicing Success
Gavin Richardson - Juanuary 11 2024
Welcome, all you home mountain bike mechanics!
Shock sound like its chewing sand? or are you planning on catching it before it does?
We have been servicing shocks for quite some time, and we would love to pass our knowledge on.
So today we will be delving into the dark art (Its actually really easy) of a basic air can service for your shock.
Watch our video of the shock service if you prefer to visualise it
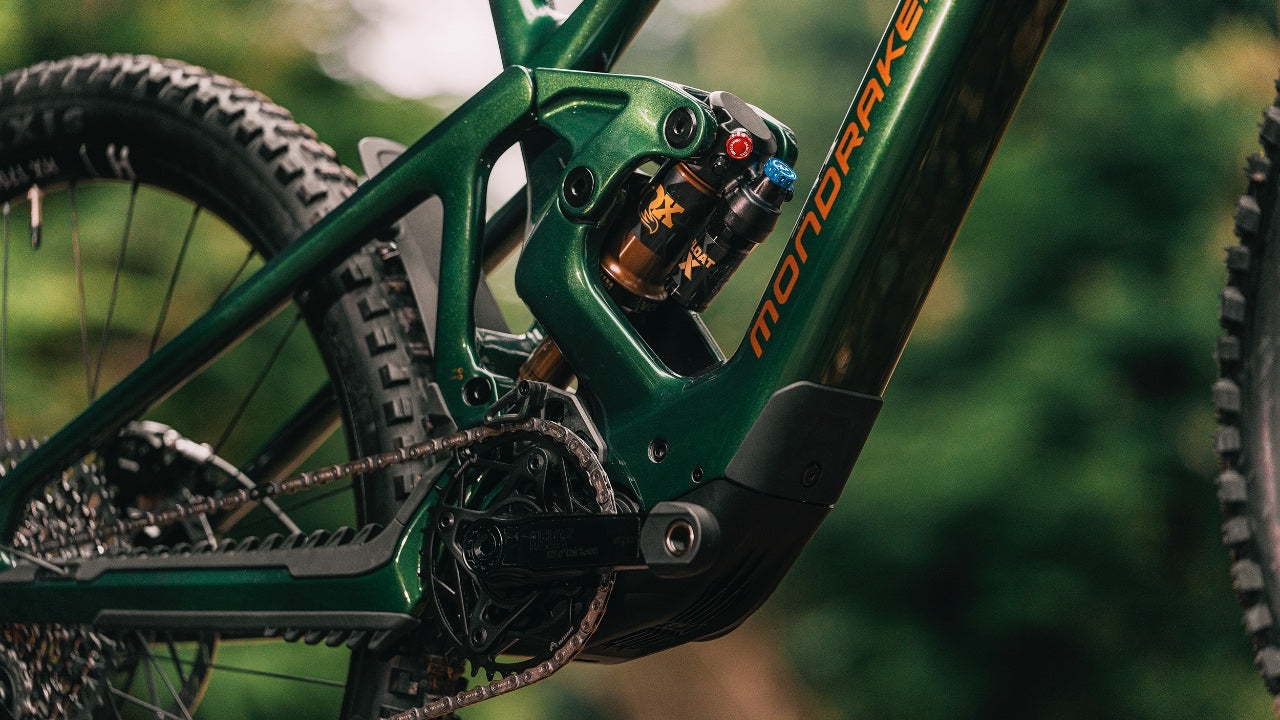
What is an Air Can Service?
An air can service involves the maintenance and overhaul of the air can of your mountain bike's rear shock.
This procedure is crucial for maintaining the proper function of the shock, ensuring it operates smoothly and efficiently.
It also prevents damage to the shock from grit and grime that gets pushed past the seals.
During an air can service, you'll clean and lubricate the seals, inspect for wear or damage (replace if necessary), and recharge the air can with the appropriate pressure.
This process helps restore the shock's performance and responsiveness, providing a better experience when riding.
How Often Do You Need to Service Your Shocks?
The frequency of shock servicing depends on various factors such as your riding style, the terrain you cover, and the manufacturer's recommendations.
Typically, a basic shock service is recommended every 50-125 hours of riding or yearly which ever comes first.
Rockshox Recommend
50 hrs of riding - Air can service
100 hrs of riding - Damper and air can service for all shocks except deluxe and super deluxe
200 hrs of riding - Damper and air can service for deluxe and super deluxe
Fox Recommend
125 hrs of riding - A full shock service, damper and air can
Ohlins Recommend
100 hrs of riding - Full shock service, damper and air can
However, if you race, are a freerider or just a hard charging rider, more frequent servicing may be necessary. If you can perform an air can service yourself then you can do it as often as you like as a preventative measure.
Regular shock maintenance not only ensures optimal performance but also prevents dirt pentrating the seals, that can lead to premature wear of the seals or worse the shaft itself.
Is Servicing a RockShox and Fox Shock, or Shocks from Other Brands Different?
While the fundamental principles of shock servicing remain consistent across brands, there are unique aspects to consider for different manufacturers.
Servicing a RockShox shock may involve specific steps and considerations distinct from those required for a Fox shock. Understanding these differences is crucial to providing the appropriate care for your specific shock model.
Manufacturer guidelines and manuals should be consulted to ensure you follow the recommended procedures for your particular shock. They will generally have step by step servicing documents to help also.
These can be found here - Rockshox servicing manuals - Fox Servicing manuals - Ohlins will always require sending to an authorised Ohlins service centre.
What Do I Need?
Before starting the shock servicing process, gather the necessary tools and supplies.
Most air can services can be achieved with innexpensive tools you will already have in the garage. A full service requires brand specific tools, so it is usually more cost effective to pay for a full service, rather than purchasing the tools.
Having the right tools ensures a smooth servicing experience and helps prevent potential issues during the process.
The Main Tools Required
- Shock pump
- Strap Wrench
- Plastic pick (Not necessity but stops you damaging any surfaces)
- Cleaning products (soft lint free cloths and isopropal alcohol is recommended)
- Service seal kit (if you are replacing the seals)
- Correct lubricant for your shock (consult the online manual for this)
- Harware removal and install tool (only required if your harware is too wide for the air can to be removed from the shaft)
- Allen keys for removing the shock from the bike
- A vice comes in handy
- Suspension specific seal grease


Tools recommended
Step 1 - Remove Your Shock from Your Bike
To properly service your shock, you need to remove it from your bike.
This involves loosening mounting hardware, and carefully extracting the shock. Make sure to take note of the flip chip orientation if your bike has one.
Fully remove the shock to gain easy access to all parts during servicing, this also prevents damage to the shock or other bike components.
Step 2 - Release Pressure and Unscrew the Air Can
Releasing Air Pressure
WARNING Before opening the shock for servicing, it's ESSENTIAL to release any built-up air pressure. Other wise your handling a live grenade.
These steps are critical to ensure your safety and allow for effective servicing of internal components.
So this is where your suspension pump comes in. Attach your pump to the valve. It is usually found on the air can itself or the eyelet assembly.
Take a note of your current pressure, so you can make sure its set up how you like it when you finish.
Now to release the air, there is usually a button dedicated for releasing air on the pump. Once complete take the pump off. Its good practice to push down on the valve core to ensure all air has been released.
Note: The shaft may suck into the shock. This isnt anything to worry about.
Removing The Air Can
This is when you may need the strap wrench depending on which shock you are servicing.
For the majority or Rockshox, the air can screws into the upper eyelet assembly.
Put your strap wrench around the aircan and turn anti clockwise. Once the air can is loosened you can slowly unthread by hand.
Remember when I said that the shaft may suck into the body of the shock, well you may hear a loud pop as you pull the air can off. Its nothing to worry about, as its just air stuck in the negative chamber. If it didnt suck in it should slide off nice and easy.
Some Fox air cans have a silver split ring holding the aircan in place. This needs to be removed before the air can can be removed.
Step 3 - Clean Everything
Now you have the air can off, inspect all the seals. If they are crispier than your sunday morning bacon then replace them. Use the plastic pick to get behind the seals and remove them. Replace with the correct seal kit for your shock. You will find which kit you need in the shocks manual online. Or contact a bike shop to get it for you. 🙋♀️
If the seals are in good condition clean everything up with isopropal alcohol and the lint free cloth.
A clean shock is crucial for optimal performance and longevity. You dont want any nasty bits of grit wearing away your shaft from the inside.
Step 4 - Relube and Rebuild
Proper lubrication is essential for a shock's smooth operation.
A THIN layer of grease should be added to all the seals, whether you have cleaned the old ones up or installed new. We recommend Slick Honey as that's what we use in the workshop. But any suspension specific grease will do.
Then a small drop of lubricating fluid is added to the air can. Fox uses Float Fluid and Rockshox uses its own 15wt 50 Oil.
Attention to detail during this step ensures that all parts function smoothly.
Pop the air can back over the shaft and push up towards the threads, while doing this turn the air can clockwise to tighten it back onto the shock.
NOTE: The air can only needs to be threaded on hand tight
Pump your shock back up to the pressure your noted down earlier.
Thants it! Air can done. easy wasnt it.
Fox Float Shock Service
Is a basic air can service on a Fox dpx2 different to the rockshox.... not really. same rules apply generally with a few subtle differences.
The main differnce is on say an X2 where the air can is completely different. So removal differs greatly. But with an X2 they dont recomend an air can service, only a full rebuild. Which generally needs a nitrogen fill (although air can be used) and lots of specific tools.
If you have an X2 probably best leaving it to the experts.
Rear Shock Service Cost
Understanding the potential costs associated with rear shock servicing is essential for budgeting and planning.
This section will provide insights into the expenses you may encounter, including the cost of replacement parts, tools, and whether you choose to perform the service yourself or seek professional assistance.
Knowing the potential costs helps you make informed decisions about maintaining your MTB's rear shock.
For a basic air can service we charge £40, other shops may be less or more depending on their rates.
If you need a seal kit they generally go from £12 upwards depending on the shock.
Remember, regular maintenance is the key to longevity. A basic air can service is a really simple process, so there is no excuse to keep that suspension in top condition.
MEET THE AUTHOR
GAVIN RICHARDSON
Some say Gavin invented the wheel. They are lying of course, but he does build a mean set.
Chief of Cykel House, aging rider and father of 3. Gavin has been riding the majority of his life in multiple different forms. He created Cykel House out of passion and enthusiasm for the sport which cannot be matched.
Always on the hunt for the best products and latest trends his finger is right on the pulse.
Interesting fact - Gavin won a handwriting competition at age 7. What a legend.
Likes - A well built berm, beer and raw sprouts
Dislikes - Stainburn woods, headset cable routing and lycra


Comments